This is the easiest gluten-free pie crust recipe ever. If you need a single gluten-free pie crust for a quiche or a pecan pie, or an apple crisp, this is the recipe for you. Jump to Recipe
Some of you might have some time on your hands and feel like making a pie – just because. Noelle’s math class had to postpone Pi Day because – well, school was canceled. It’s hard to believe that the kids have been out of school since before 3.14!
She was so excited that her awesome math teacher rescheduled Pi Day to this week. Noelle’s siblings were REALLY excited that Pi Day was rescheduled to this week because they all got PIE.
If you don’t make your own pie crust, now might be the time to start! It’s really easy. Super duper easy if you have a food processor.
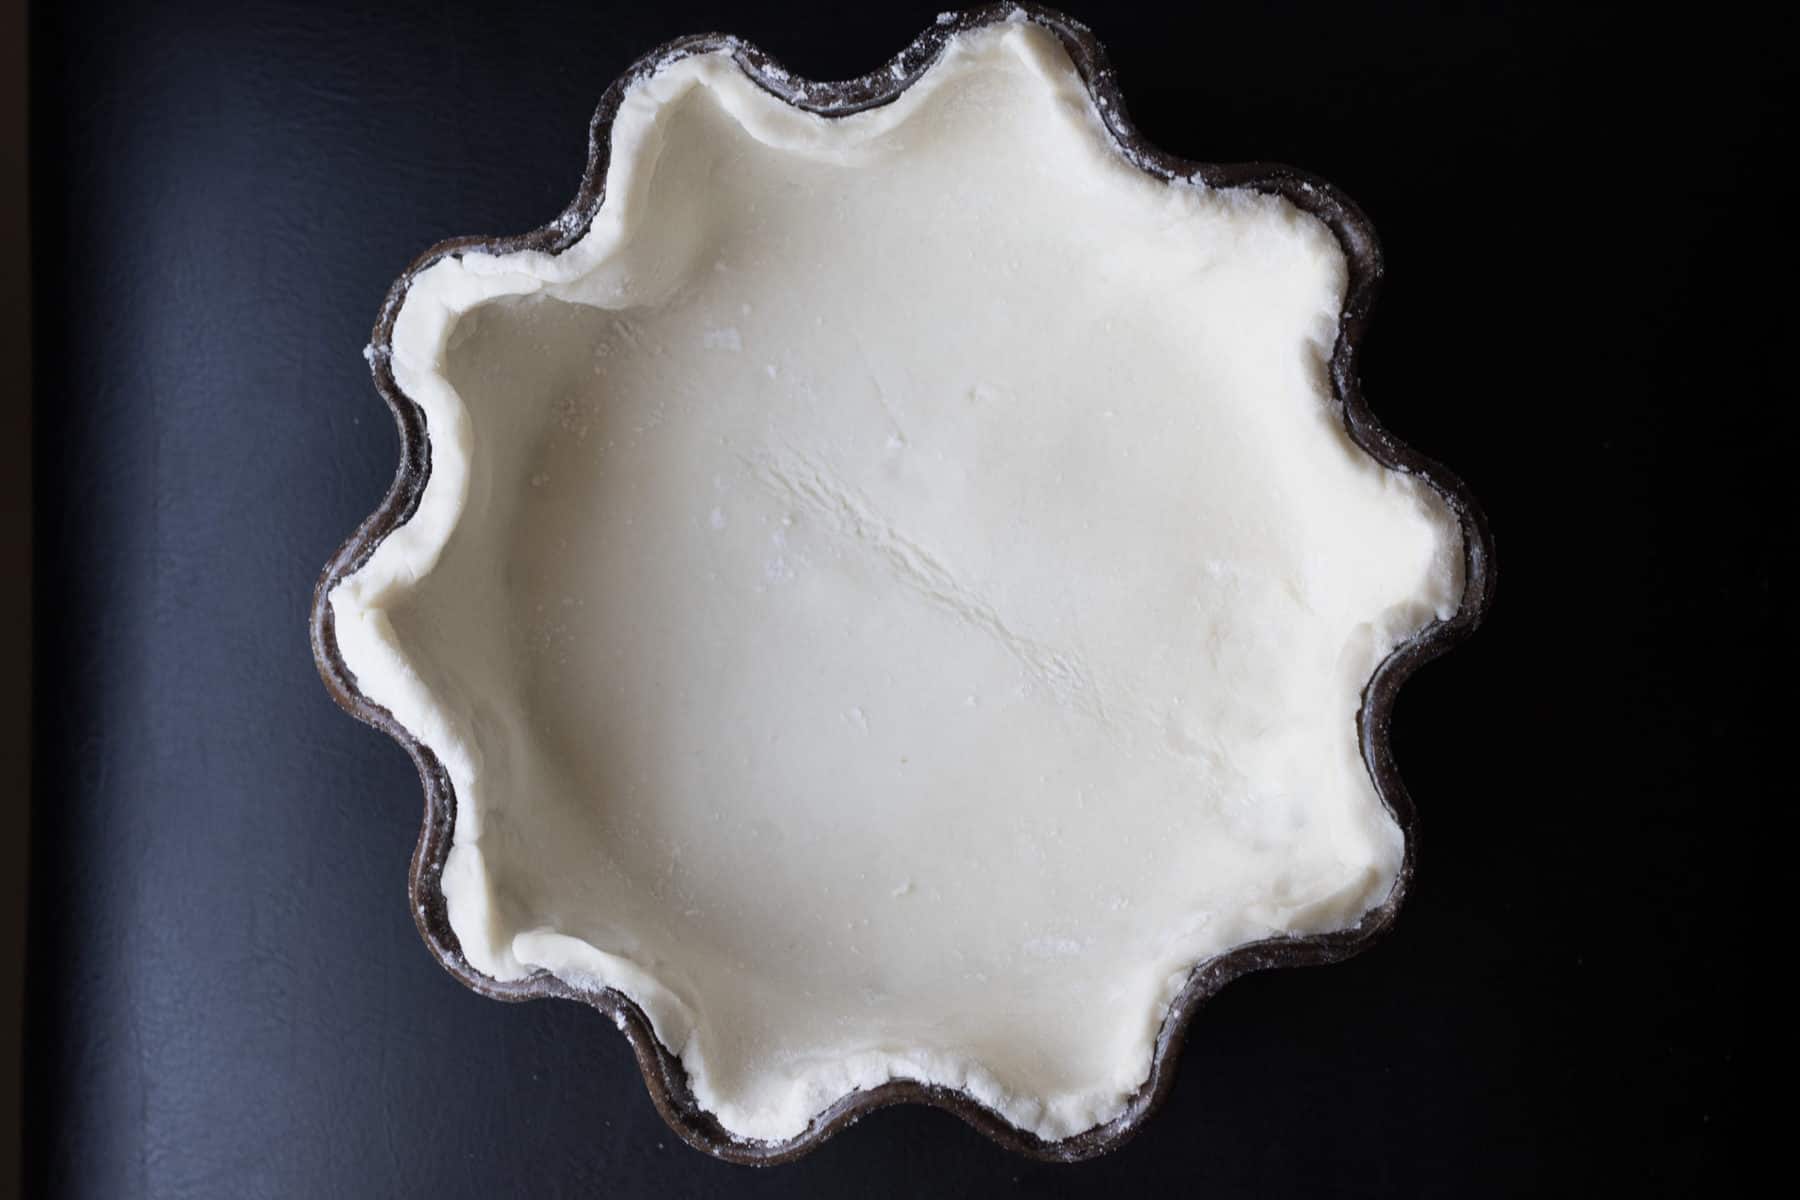
I make gluten-free pie crust and you cannot tell it’s gluten-free. My biggest piece of advice to really good pie crust is to make sure that your BUTTER and your WATER are VERY, VERY COLD. Practically frozen.
Gluten-Free Single Pie Crust
1 cup gluten-free flour (we used Cup4Cup)
1/4 teaspoon salt
7 T butter – chopped and put in freezer
3 T (approximately) chilled water (water with ice cubes)
You Need A Food Processor
In your food processor, cut the (almost) frozen butter chunks into the flour and salt until the pieces are pea-sized. Gradually add chilled water, one tablespoon at a time, until a dough ball forms. Add a little more flour if the dough looks too wet.
Roll Out The Dough
Remove dough ball and put on a clean surface – I roll all my dough on a granite slab that I bought at Sur La Table. It is inexpensive and perfect for rolling out dough.
Make sure the dough has enough flour on it so that it doesn’t stick to the roller or the rolling surface. Roll it out a few rolls at a time and rotate the dough circle a quarter turn – I don’t necessarily flip it over. Less is more. Don’t over-roll it.
I turn it over once, add a little more flour, and give it a few more rolls to get it to the right size.
A Fish Spatula Is Handy
If you have a fish spatula – a super flat metal spatula – or a dough scraper – gently slide it under the dough to make sure the dough is not sticking at all to the surface.
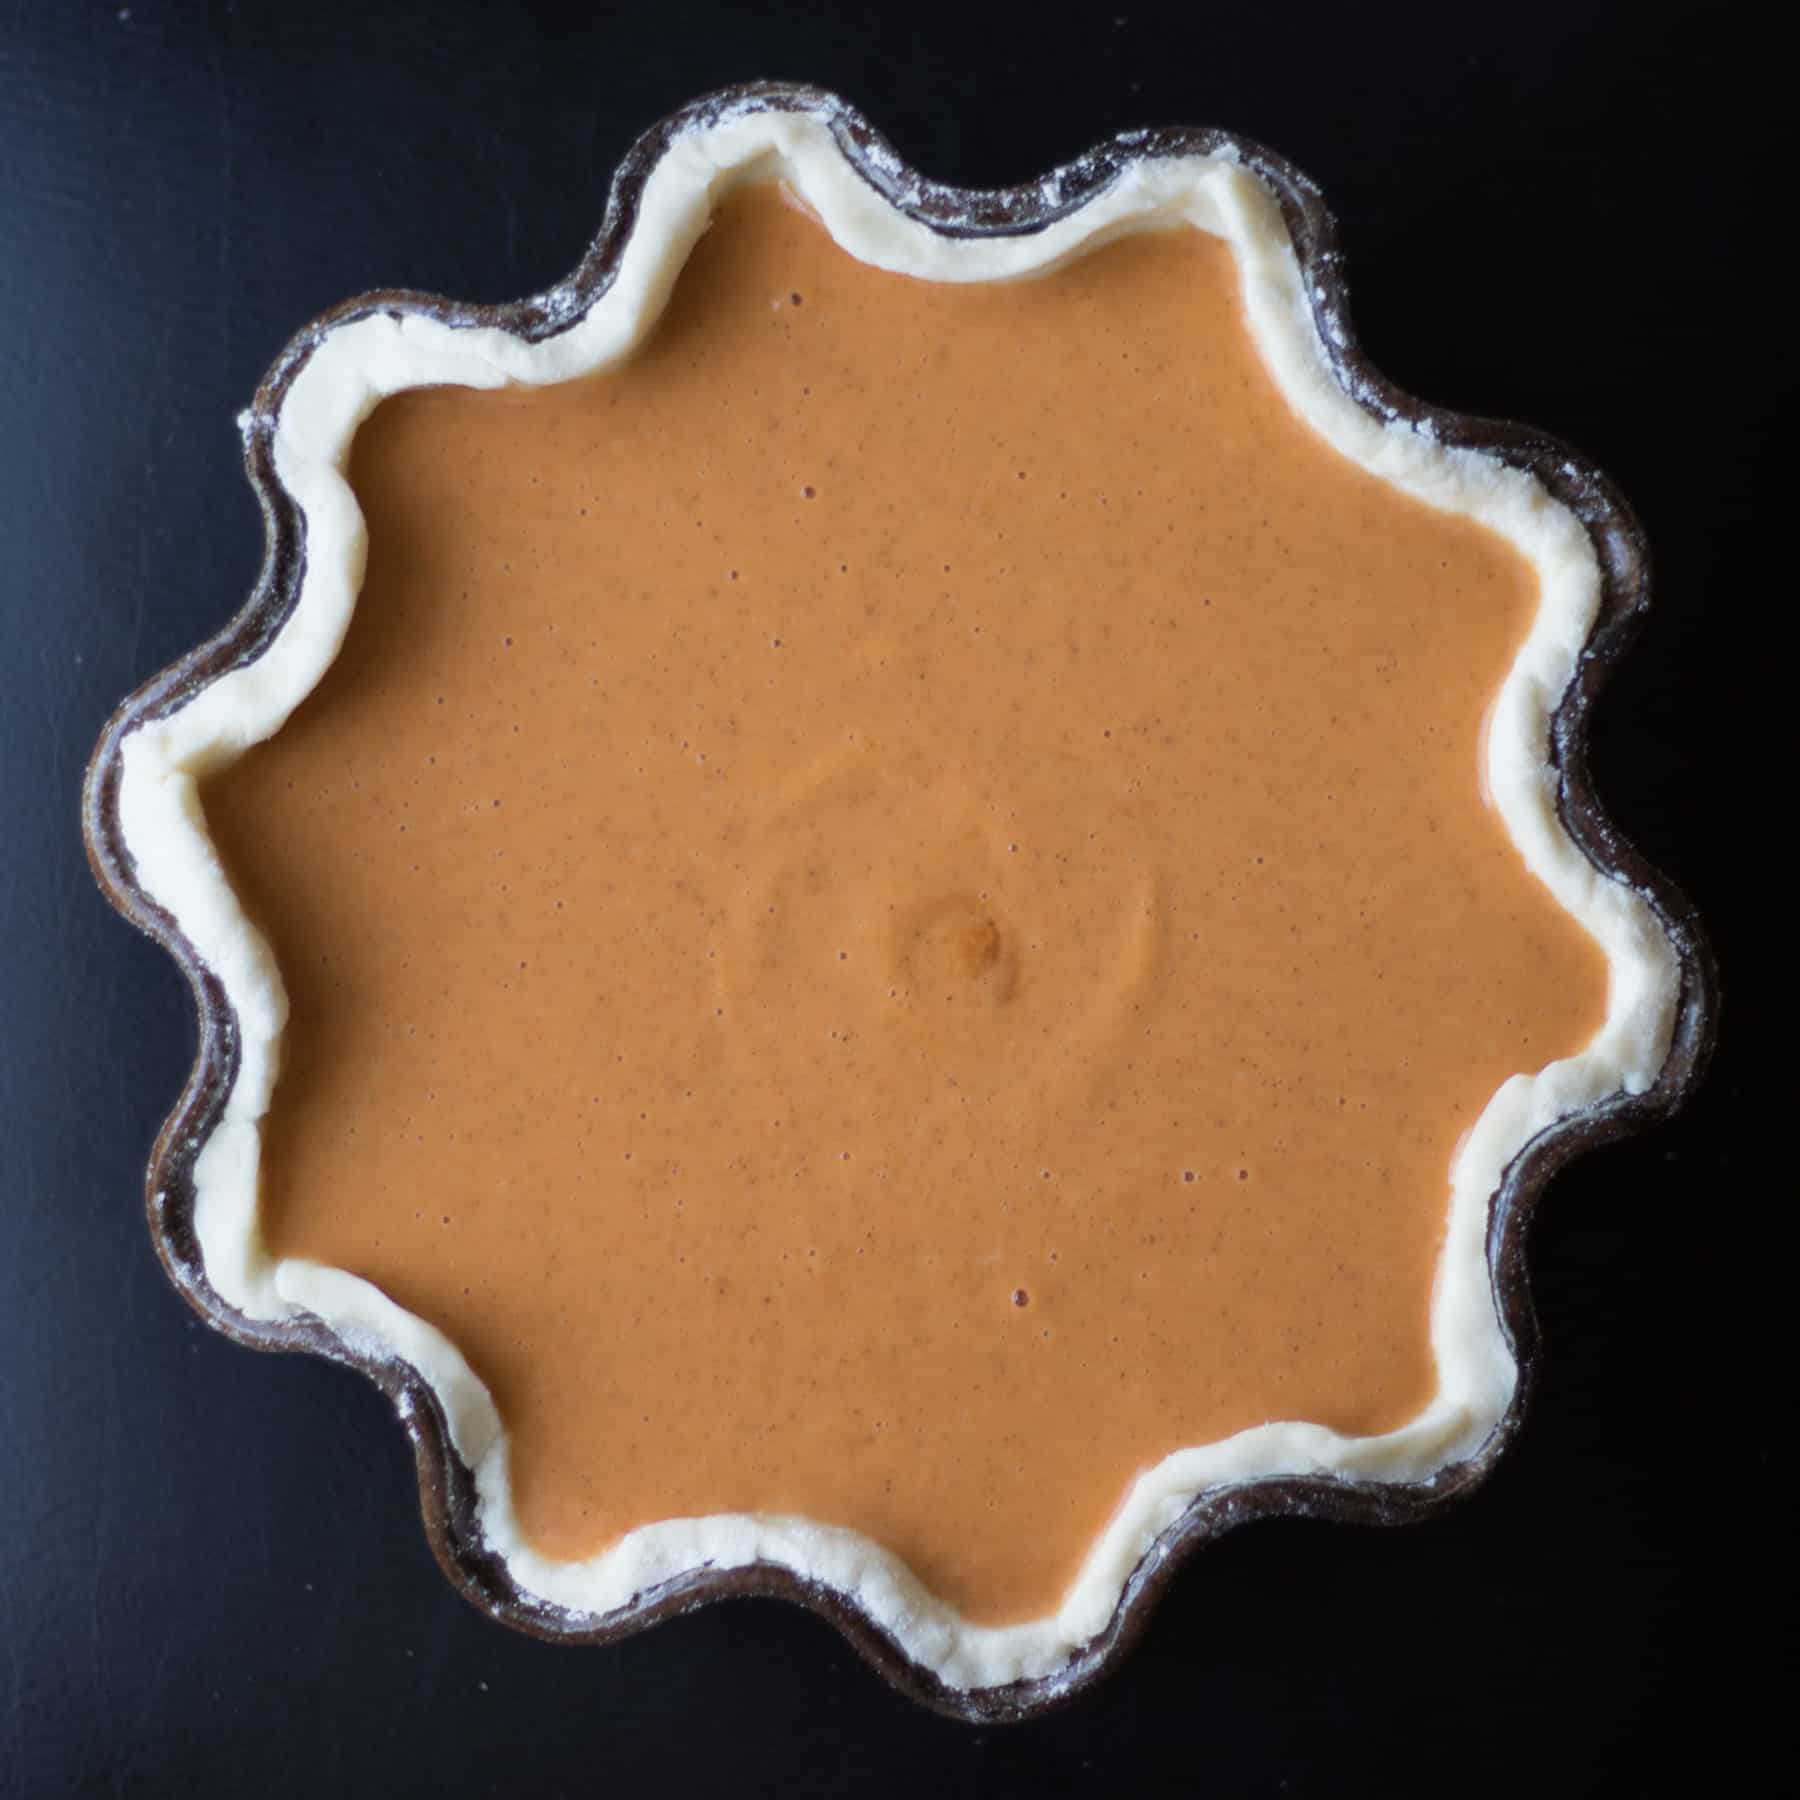
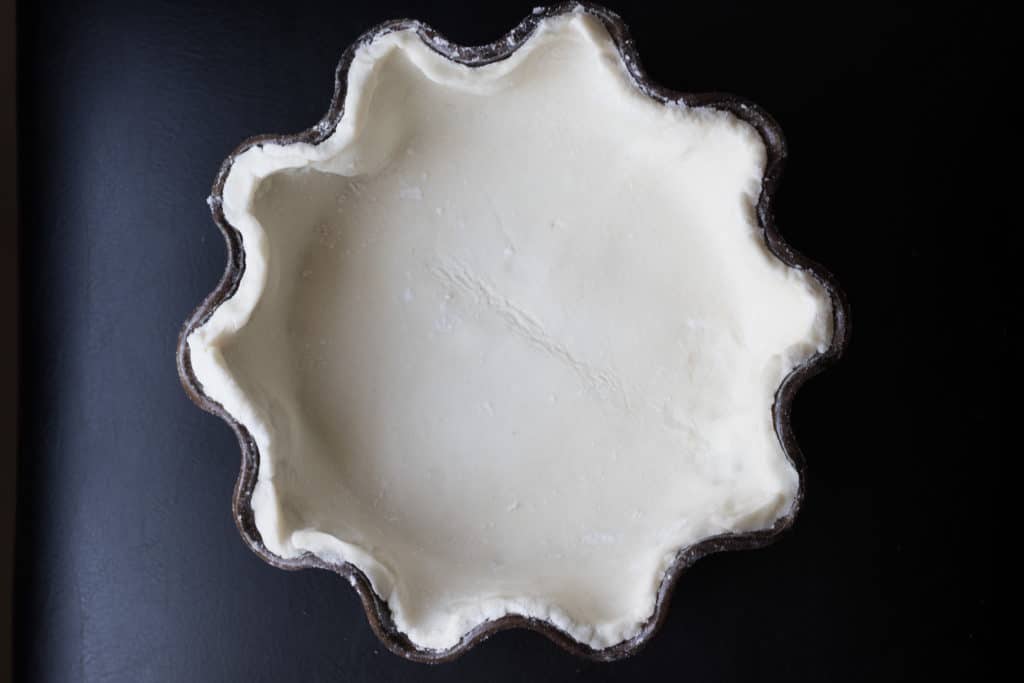
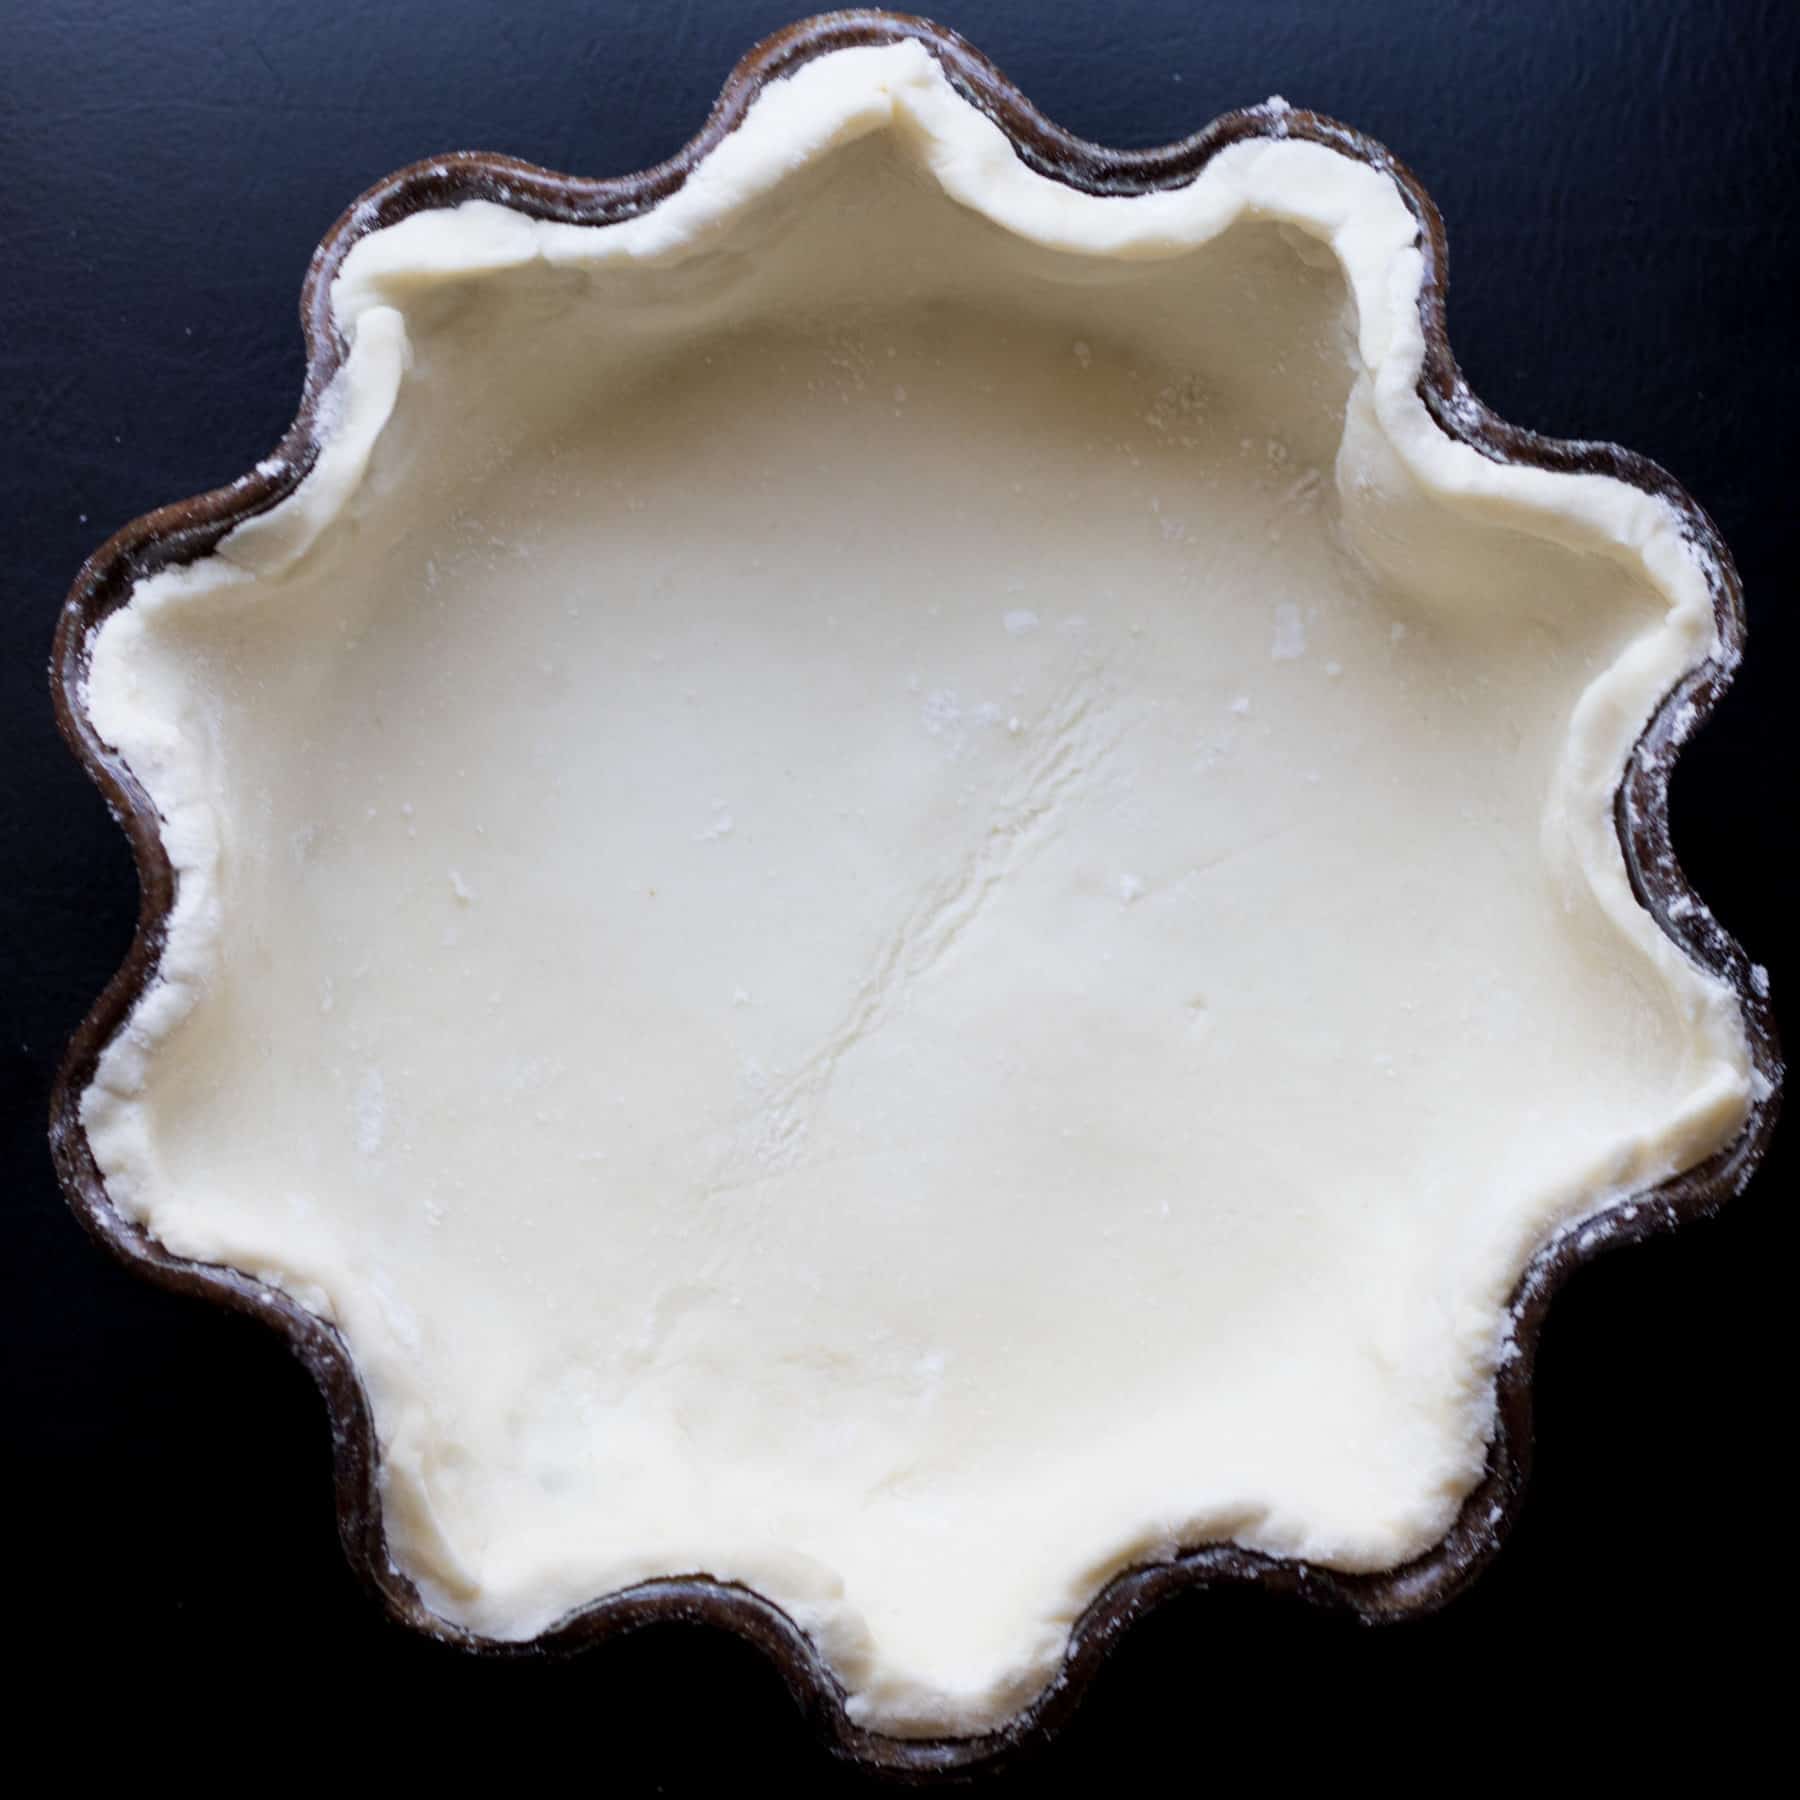
Gently fold the dough in half and then half again and put it in your pie pan and gently unfold. Even out the edges with a sharp knife and make any necessary repairs. Make the edges look neat and fill with your pie filling.
Protect Your Edges
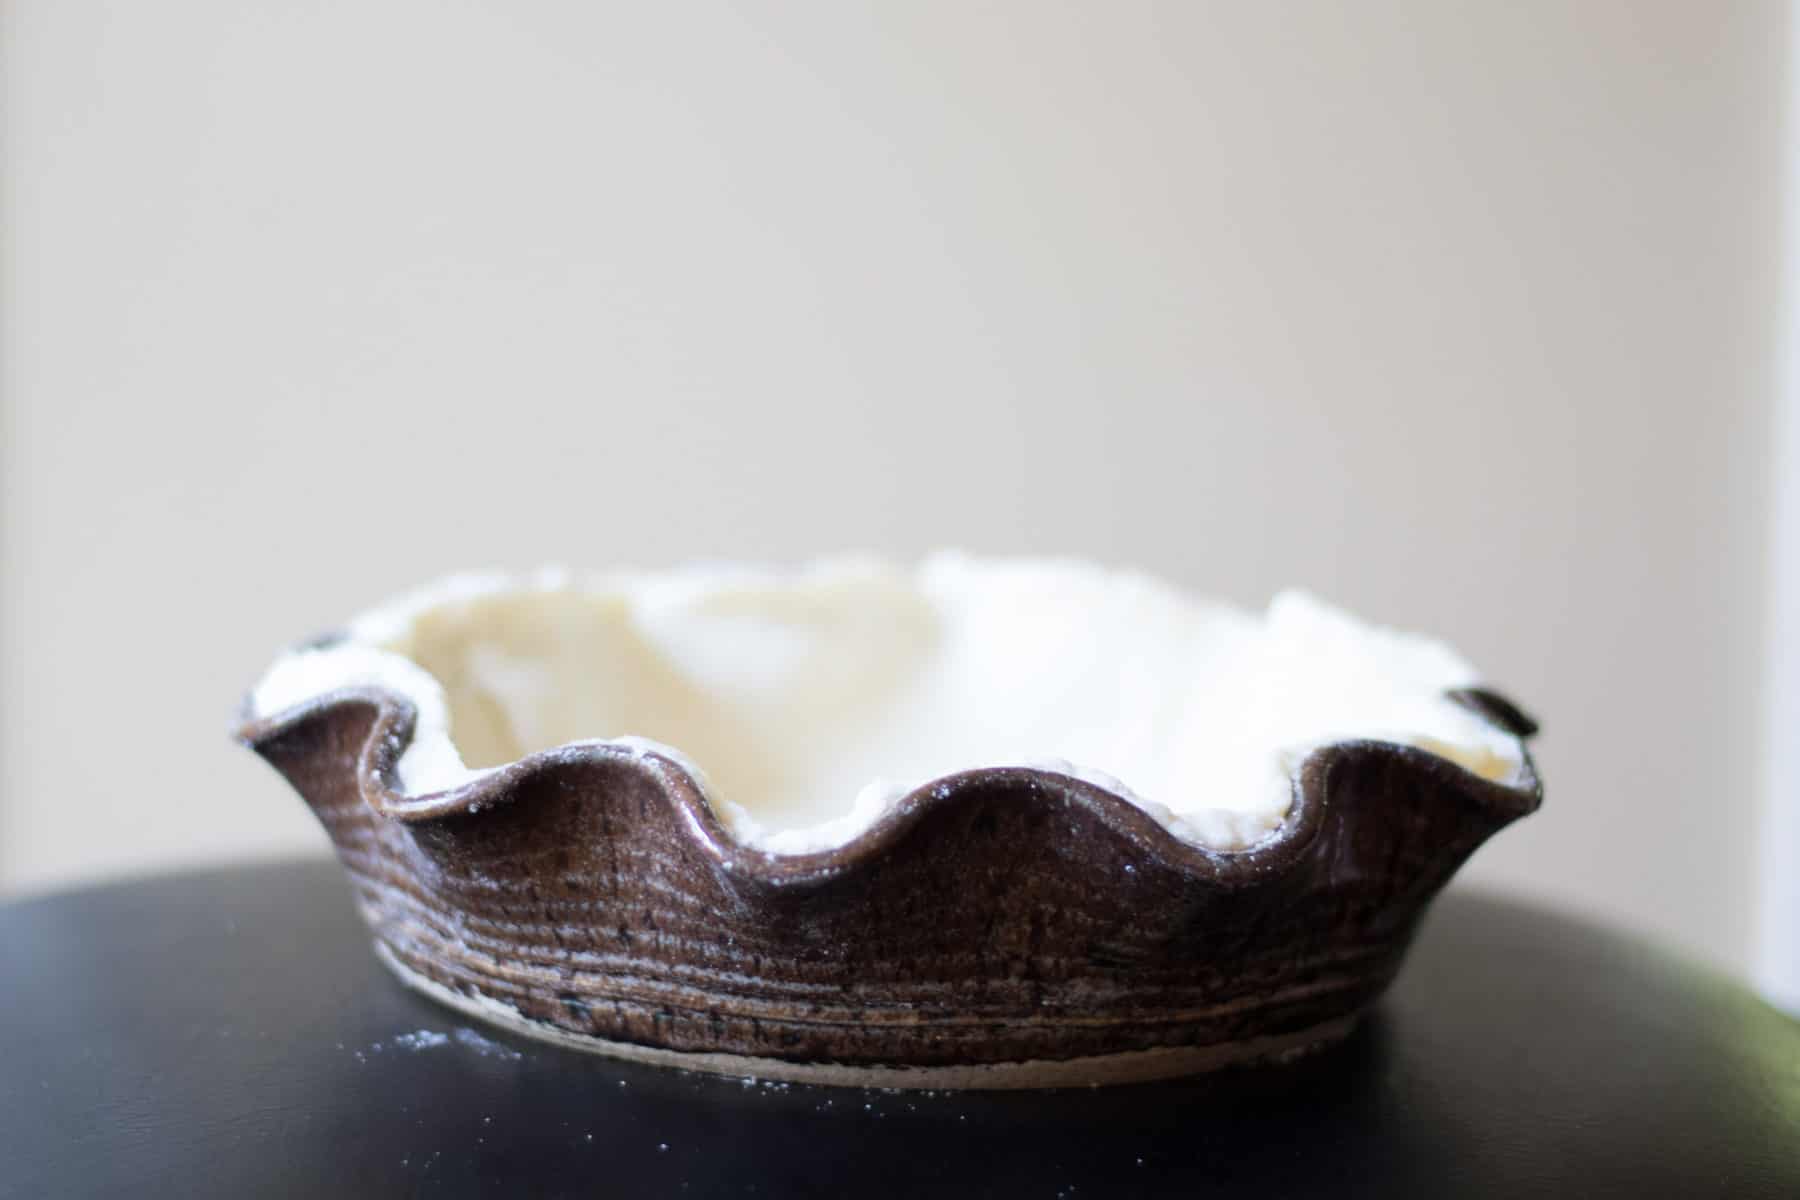
When you cook your pie, make sure you protect your pie edges! I usually create a little foil crown to go around the edge so my hard work doesn’t get burned.
Our favorite recipes that need a pie crust …
Easy Quiche Lorraine With Caramelized Onions and Swiss Chard
Chard and Goat Cheese Quiche With Duck Eggs
Gluten-Free Single Pie Crust Recipe
Gluten-Free Single Pie Crust
Ingredients
- 1 cup gluten-free flour we used Cup4Cup
- 1/4 teaspoon salt
- 7 T butter - chopped and put in freezer
- 3 T approximately chilled water (water with ice cubes)
Instructions
-
In your food processor, cut the (almost) frozen butter chunks into the flour and salt until the pieces are pea-sized. Gradually add chilled water, one tablespoon at a time, until a dough ball forms. Add a little more flour if the dough looks too wet.
-
Remove dough ball and put on a clean surface - I roll all my dough on a granite slab that I bought at Sur La Table. It is inexpensive and perfect for rolling out dough.
-
Make sure the dough has enough flour on it so that it doesn't stick to the roller or the rolling surface. Roll it out a few rolls at a time and rotate the dough circle a quarter turn - I don't necessarily flip it over. Less is more. Don't over-roll it.
-
I turn it over once, add a little more flour, and give it a few more rolls to get it to the right size.
-
If you have a fish spatula - a super flat metal spatula - or a dough scraper - gently slide it under the dough to make sure the dough is not sticking at all to the surface.
-
Gently fold the dough in half and then half again and put it in your pie pan and gently unfold. Even out the edges with a sharp knife and make any necessary repairs. Make the edges look neat and fill with your pie filling.
