I have been reading up on making marshmallows for years. I see friends and food bloggers post gorgeous marshmallow photos and I think, “Why can’t I do that?” Recipe after recipe, I couldn’t quite find one that screamed, “EASY Homemade Marshmallows.” I need EASY, my friends. EASY. If a project can’t be accomplished during the space of nap time and possibly with the help of a couple of elementary school kids, it won’t happen.
For her 8th birthday, my daughter wanted to take a cooking class. On the first day of our gorgeous 16 day winter break (!!!), my two girls and I headed over to Sur La Table for a hands-on class learning how to make holiday treats. We had a great morning and we went home with a lot of new tricks (and treats!) up our sleeves – cocoa mix, peppermint bark, popcorn toffee balls and, of course, marshmallows.
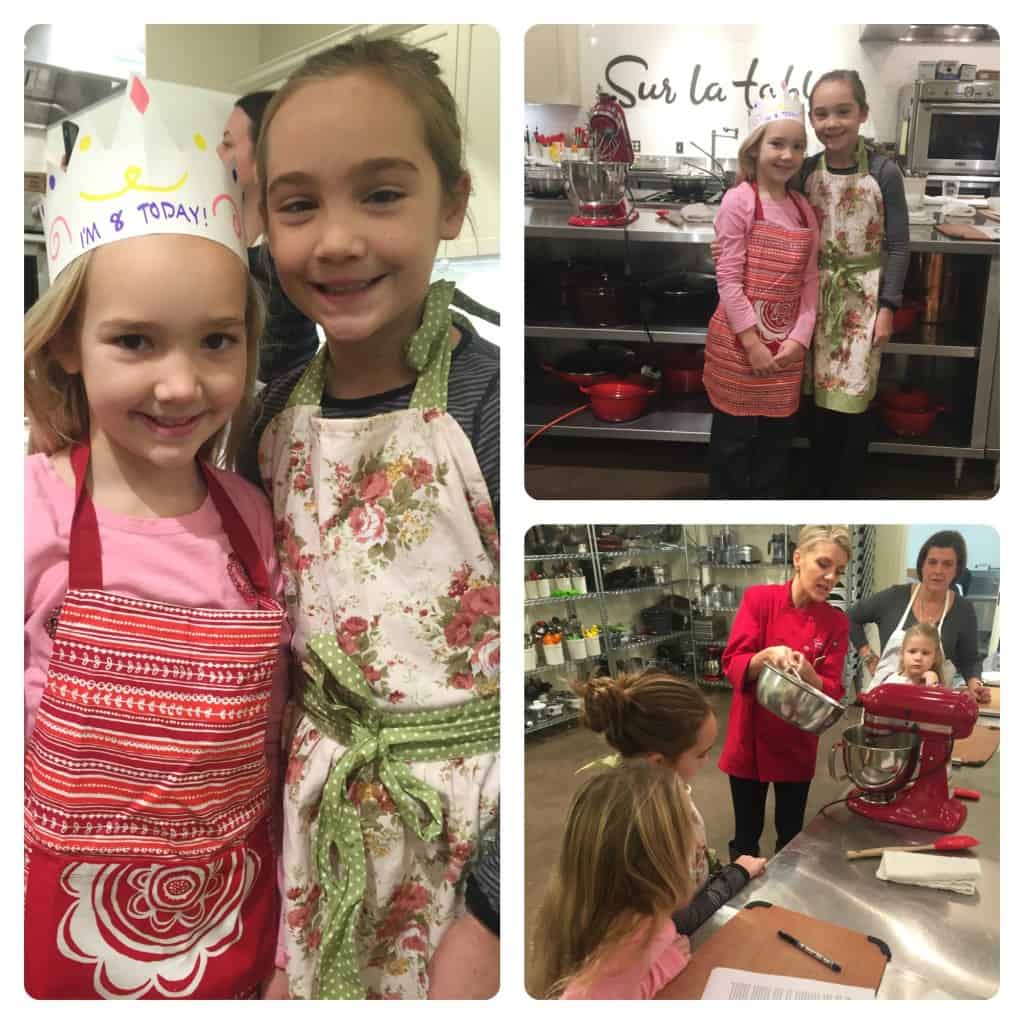
The holiday treat I was most excited about making on my own was marshmallows! I had given up on ever figuring this out with the help of google and youtube. I needed an in-person demo. When I saw easy homemade marshmallows on the menu for the class, I knew we needed to attend.
The recipe provided to us from Sur La Table was absolutely perfect. I bought myself a digital thermometer and headed home to make our own batch. If you do not own a digital thermometer, you need to buy one. They are more reliable and easily recalibrated. Just do it. While making these marshmallows, I took out my old-school thermometer to compare it to my new toy and I really can’t believe how I have lived without those digital numbers for so long. Watching the numbers on my digital thermometer click up and down with such precision made this easy homemade marshmallow process, well, EASY!
For this recipe, follow the temperatures and the minutes and you should get a gorgeous tray of homemade marshmallows. Our instructor said that these marshmallows have a shelf life of a few days or so but we put ours in an air-tight tupperware and popped them in our hot cocoa for at least a couple of weeks. Good luck!! Have you made marshmallows before? Any tips or tricks?
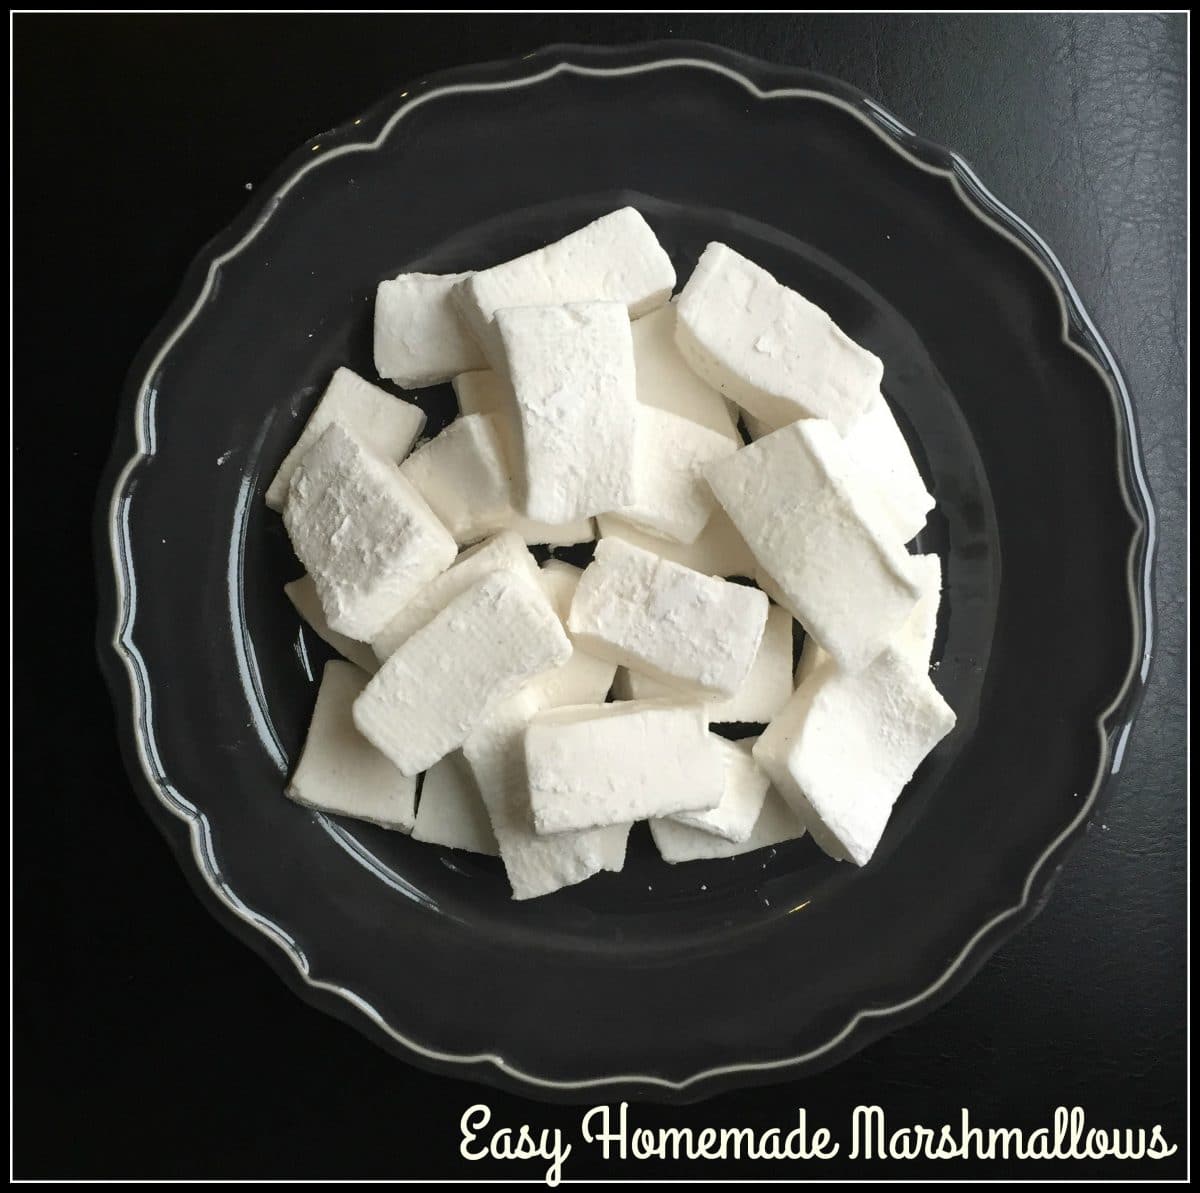
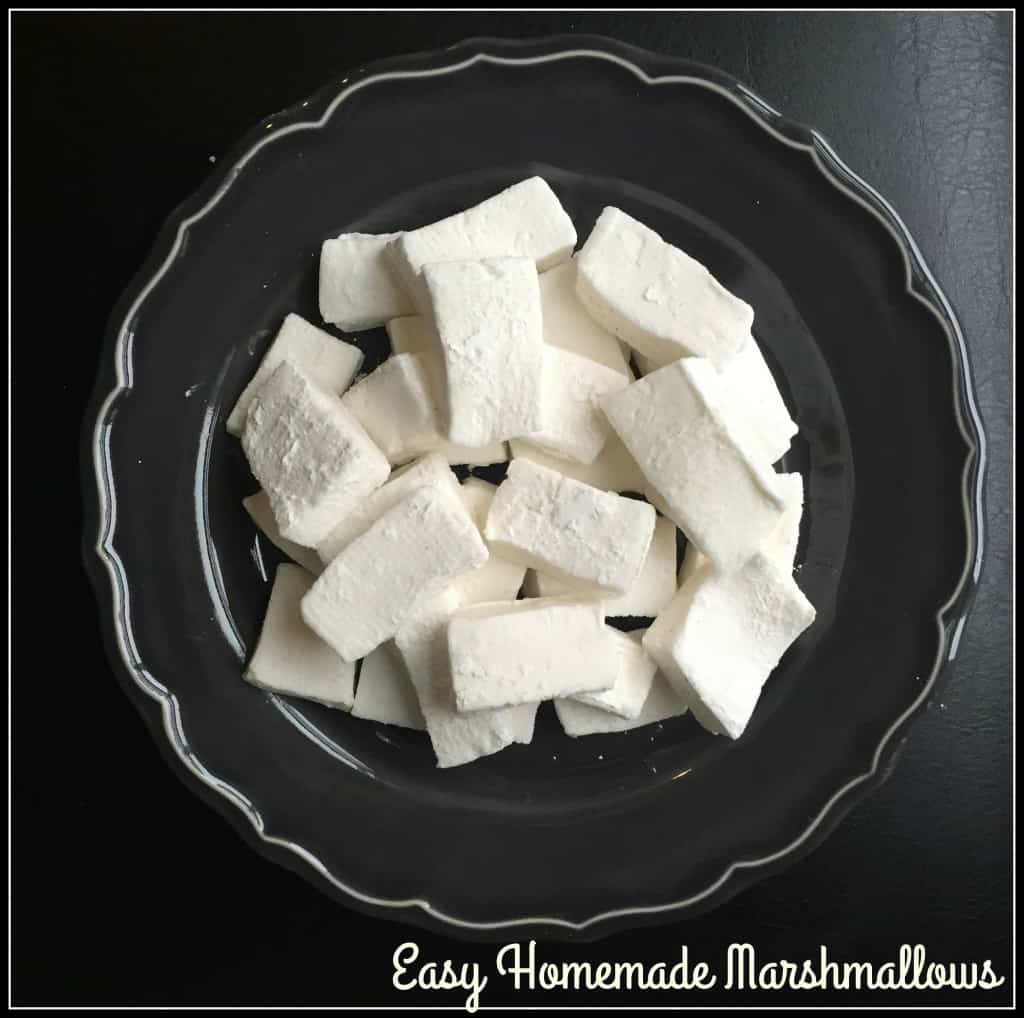
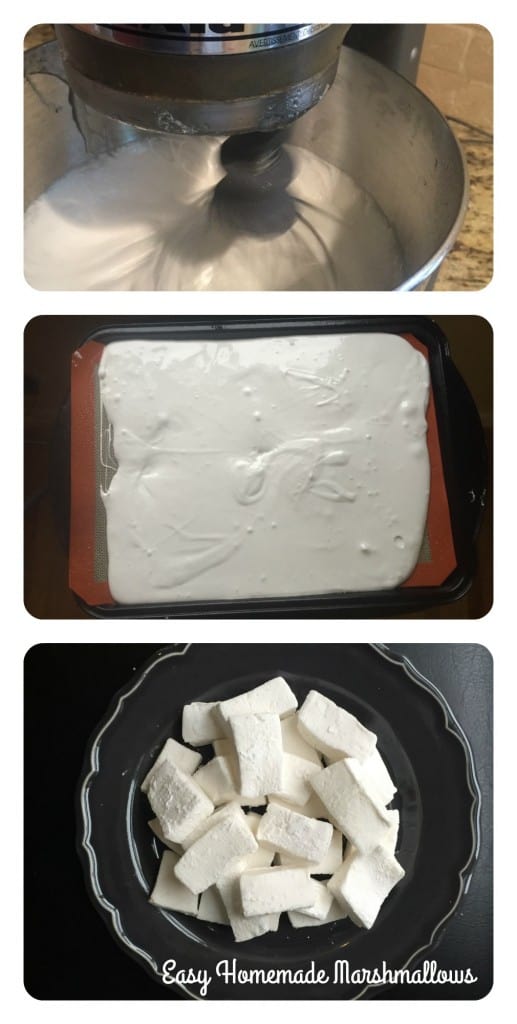
Easy Homemade Marshmallows
Ingredients
For Blooming Gelatin
- 3 tablespoons (3 packets) unflavored powdered gelatin
- 1/2 cup cold water
For The Marshmallows
- 3/4 cup water
- 1 1/2 cups granulated sugar
- 1 1/4 cup light corn syrup
- 1/8 teaspoon sea salt
- 1 tablespoon vanilla bean paste
- 1/2 cup confectioners' sugar (powdered sugar)
- 1/4 cup corn starch
Instructions
To bloom the gelatin: In a measuring cup, whisk together 3 tablespoons of gelatin plus the cold water. Gelatin will be the consistency of apple sauce. Transfer this mixture to a large bowl in a stand mixer.
For the marshmallows:
-
Line a 9 x 13 inch baking sheet with a silicon baking mat - we used our silpat mat - or line with parchment paper - and spray evenly with non-stick cooking spray.
-
In a medium saucepan, combine 3/4 cup of water, 1 1/2 cups sugar, 1 1/4 cups light corn syrup and bring to a boil without stirring on medium high heat. Boil covered or uncovered for 4 minutes.
-
If covered, remove the lid and continue to boil until the mixture is thick and clear. Using your digital thermometer, check that the temperature is between 247 and 250 degrees.
-
Remove from heat. Turn stand mixer to medium and carefully pour the hot sugar mixture into the gelatin mixture.
-
Increase the mixer speed to high and whip for ten minutes until the marshmallow mixture is white and its volume is about twice what you started with. Beat in the vanilla bean paste or regular vanilla extract.
-
Spray a silicon spatula with cooking spray and quickly spread the marshmallow mixture over your silicon mat.
-
Let stand for at least an hour.
-
In a small bowl, whisk together powdered sugar and corn starch. (I adjusted the amounts down from what Sur La Table suggested.) Use a fine mesh strainer to evenly dust the top of the marshmallows with the powdered sugar and corn starch combo. Flip the dusted marshmallows onto a clean work surface dusted side down. (I used my marble pie slab.) Lightly dust the other side of the marshmallows.
-
Using a sharp knife sprayed with cooking spray (Sur La Table also suggested a pizza cutter for this job!), cut your marshmallows into 1 inch squares or other shapes. Using the extra corn starch and sugar mixture, dust the sides of each marshmallow so that the entire marshmallow is lightly covered with powder - or else they will stick to each other.
-
Sur La Table suggests tossing all the marshmallows in a large resealable freezer bag with the powdered sugar cornstarch mixture and then tossing the marshmallows in a fine mesh sieve to get the extra dust off. I just lightly tossed them in the sugar/corn starch mixture with my hand before storing them in a large, air-tight tupperware container.
Recipe Notes
From my research, heating the sugar mixture to 240 degrees seemed very common. However, the recipes that only heated the sugar to 240 generally needed the marshmallows to be whipped for 15 minutes instead of ten. I haven't experimented yet but I will update when I do!

I love homemade marshmallows! Your recipe is pretty similar to mine–I am surprised they did it in a kids’ class just because of the boiling sugar. When I first learned I was so paranoid about having the kids anywhere near me! I hope you play with flavors–you will be amazed at what you can make and never touch storebought again! Great job!
I was surprised, too! This was so easy – I can’t wait to experiment with flavors!
I laughed when I was recently asked to make homemade marshmallows. I assumed they would be really hard, but this looks like something I could handle!
I’ve been wanting to make my own marshmallows for so long as well, and definitely need something quick and easy! This recipe looks great – I just need to get a new candy thermometer. 🙂 Might make these for Valentine’s Day. Thank you!
Try it, Marlynn! I was shocked.
How fun are these?! I’ve had homemade marshmallows on my list for awhile but just haven’t gotten around to it yet. That totally needs to change!
Thanks, Lauren! I was a little afraid with the hot sugar on the stove but it wasn’t nearly as worrisome as I thought. Give it a try!
Dear Erin, the class sounds like a lovely way to spend a day with your girls. And no, I do NOT have a digital thermometer. And yes, I want one. That, and an immersion blender. So the marshmallows are lovely and I’m convinced that even I could make these. My cousin sent some to my boys for Christmas last year. They were thrilled and my little Charlie suggested she might want to send more. WHICH SHE DID!!! Can you believe it? Yours look just like my cousin’s, soft and fluffy and oh so addictive! I would love some in my hot chocolate today!
Thanks, Allie! It was such a great morning with my girls. You could make these! We might even make more tomorrow and try a different flavor. So much better than storebought.
LOVE homemade marshmallows! They’re so much better than store bought. And it’s so cute your daughter wanted to take the class – looks like she had a lot of fun!
She really did have a great time! And her big sister was so pleased to be included in the fun!
Erin,
What a fun treat for both of you–I am such a visual learner that I appreciate seeing it done in front of me.
And with such yummy results!
How fun! My girls love to “help” me in the kitchen as well! I’m sure they would love this recipe!
Thanks, Nikki! It’s so much more fun now that my kids love to be in the kitchen with me!
My kids LOVE marshmallows and I keep saying I’m going to make them. Thanks for posting… and inspiring me!
Thanks, Roxanne! I am so glad we did this! I’ve been wanting to try to make them for awhile.